
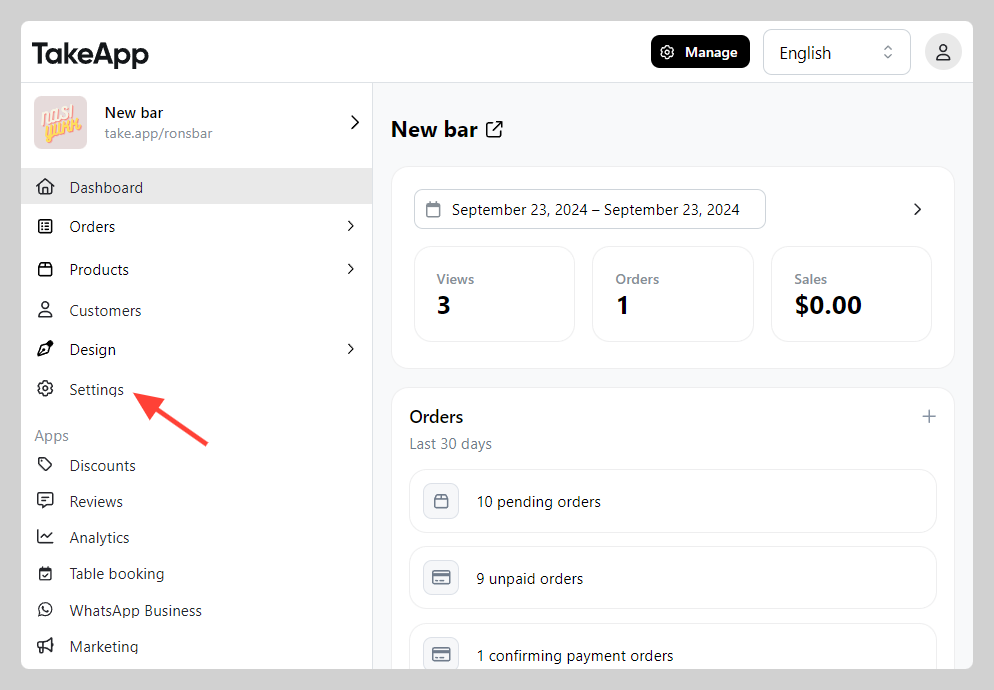
Every purchase gets a unique order number so you can track it through fulfillment. Both the format and the counter are set in Admin > Settings > Checkout, under the "Order number" section.
Change the order number format
-
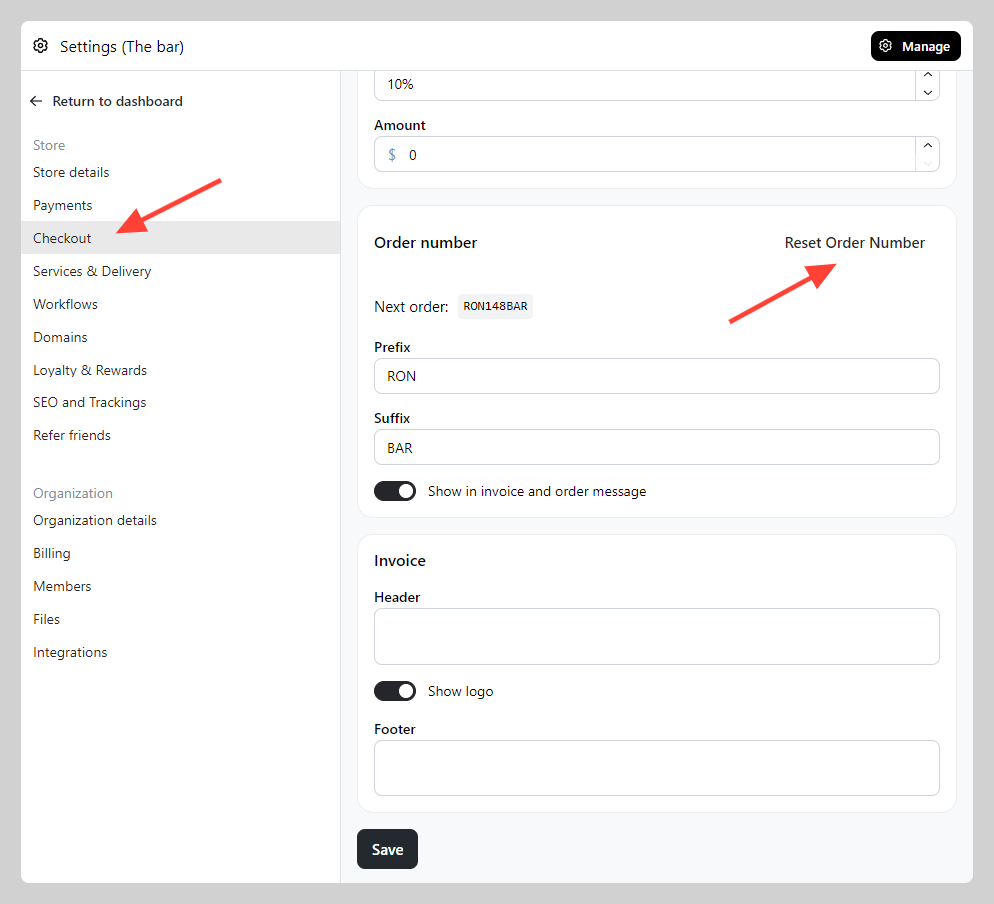
Go to Admin > Settings > Checkout and find the "Order number" section.
-
Add a prefix and suffix to customise the format.
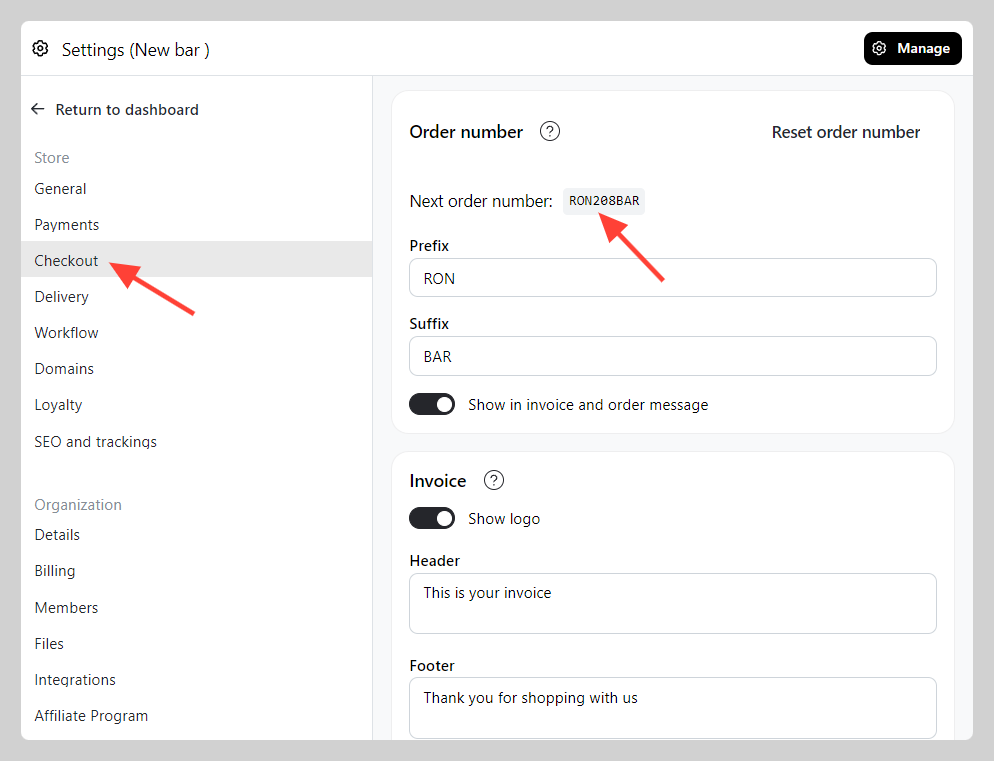
Each field takes up to 30 characters.
Add the date to order numbers
Type these into Prefix or Suffix to show when the order was placed:
| Type | Shows | Example |
|---|---|---|
{year} | Four-digit year | 2026 |
{yy} | Two-digit year | 26 |
{month} | Two-digit month | 03 |
{date} | Two-digit day of the month | 15 |
For example, a prefix of INV{yy}{month}- turns order 7, placed on 15 March 2026, into INV2603-7. Each order uses the date it was placed, in your organisation's timezone, so older orders keep their own dates. The counter itself keeps counting up — adding a date does not restart it each month or year. To start again from zero, reset the counter.
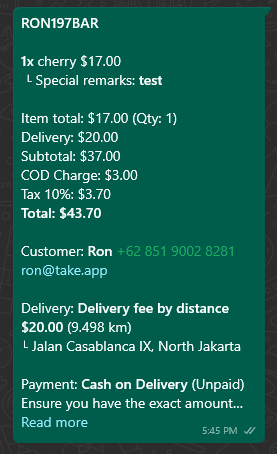
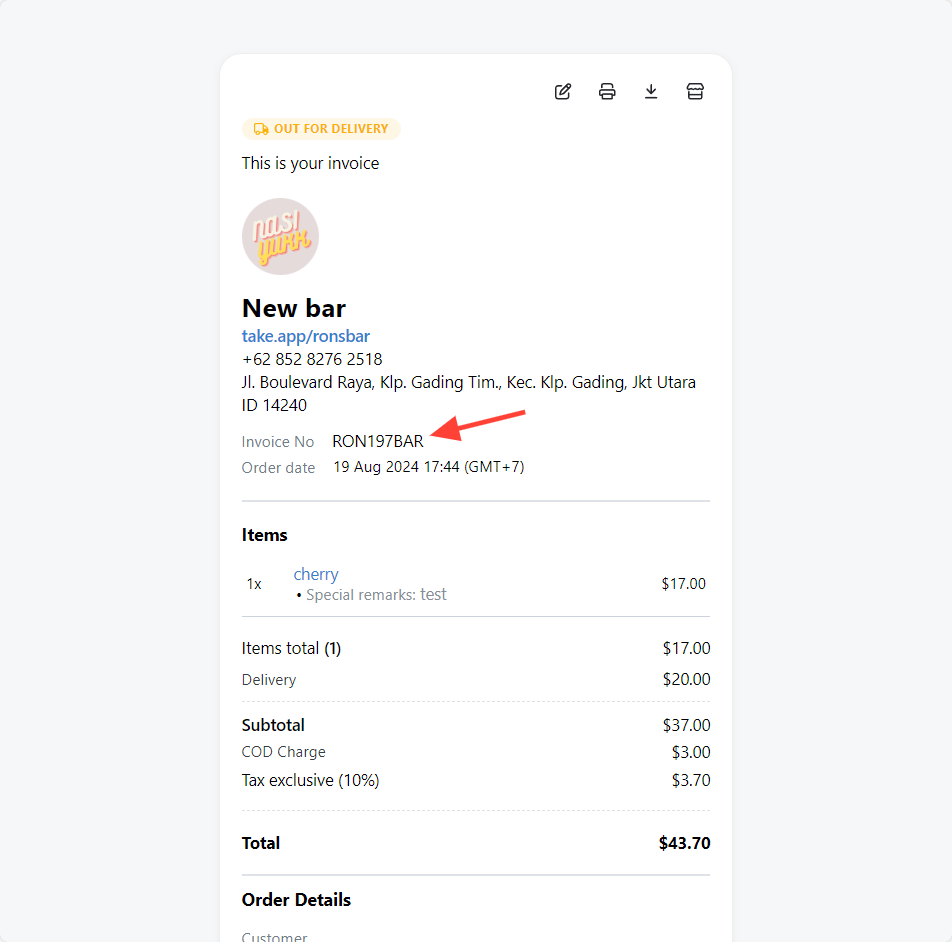
The order number appears on the invoice and in the order message.
Reset the counter
- Go to Admin > Settings > Checkout and find the "Order number" section.
- Click
Reset order number, then clickSave. The counter goes back to 0.
Invoice numbers are separate from order numbers — see How can I manage invoice numbers in Take App?.