
This guide will walk you through how to use the workflow feature in the TakeApp application. The workflow feature allows you to automate actions such as sending WhatsApp messages or emails to customers or staff members.
This guide also includes troubleshooting tips to ensure smooth operation of your workflows and notifications.
How to create workflow
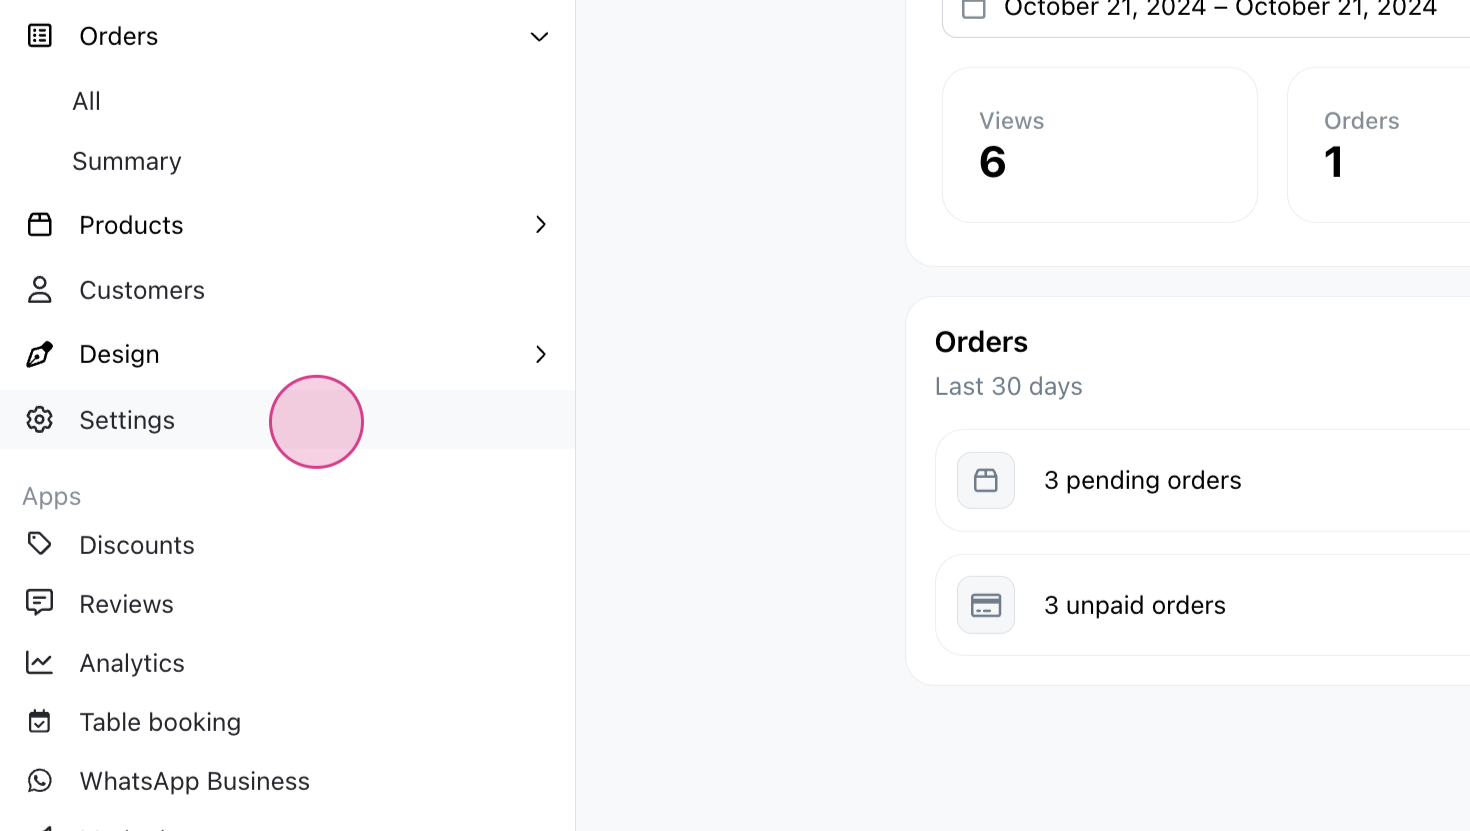
Step 1: Start from the admin dashboard. Navigate to Settings.
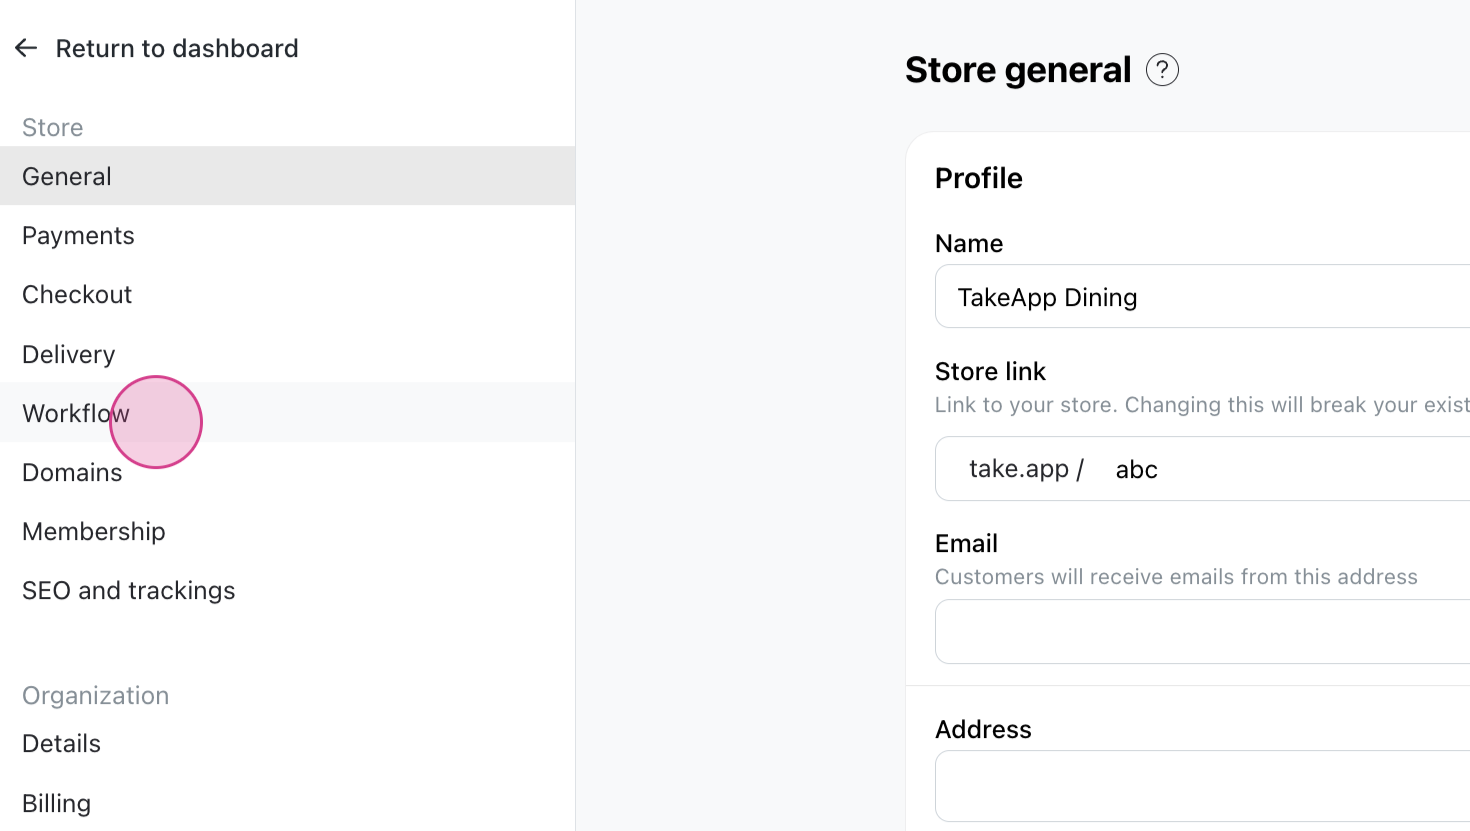
Step 2: Locate the Workflow section.
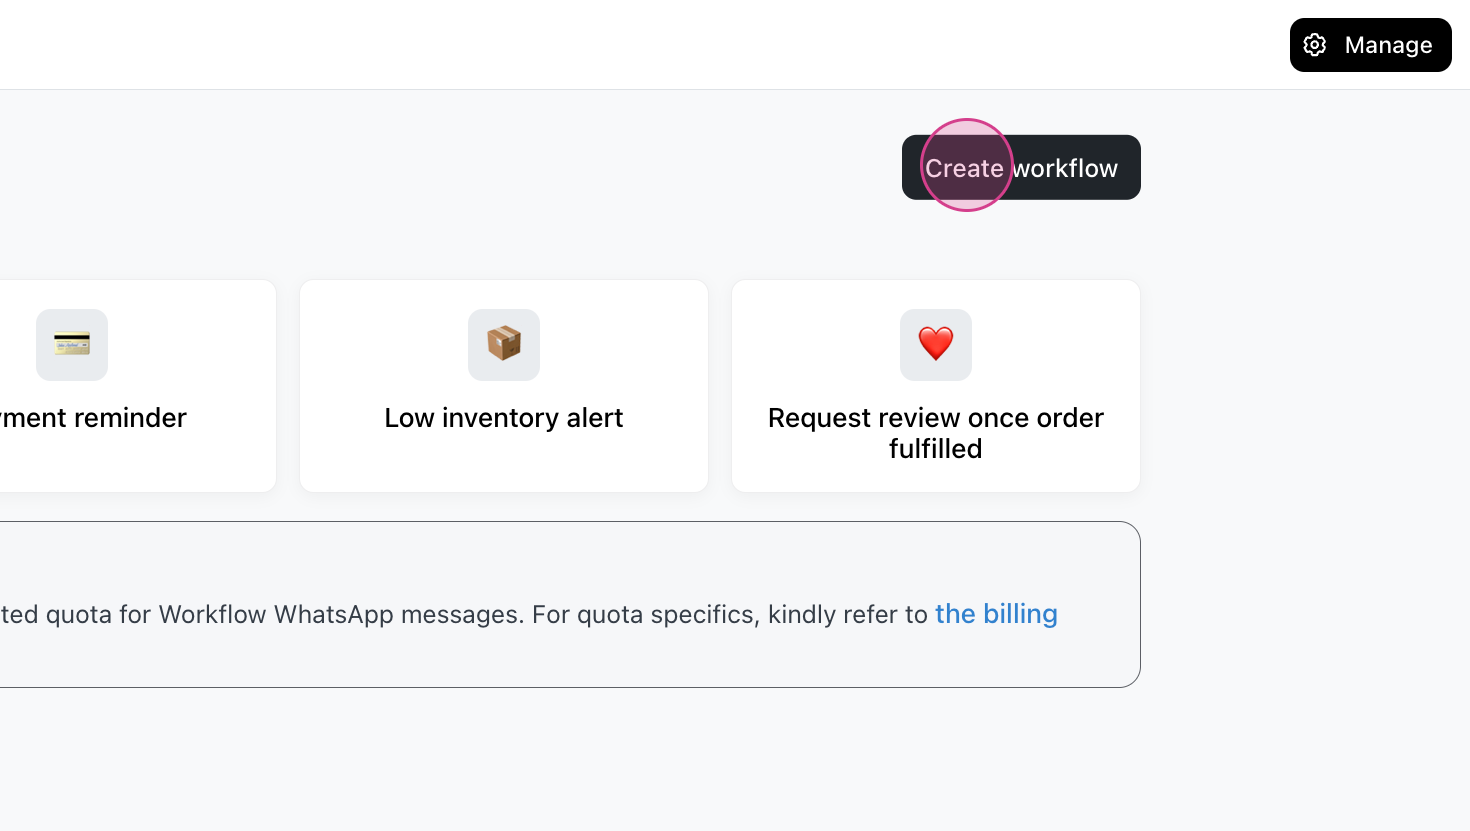
Step 3: Click on Create Workflow.
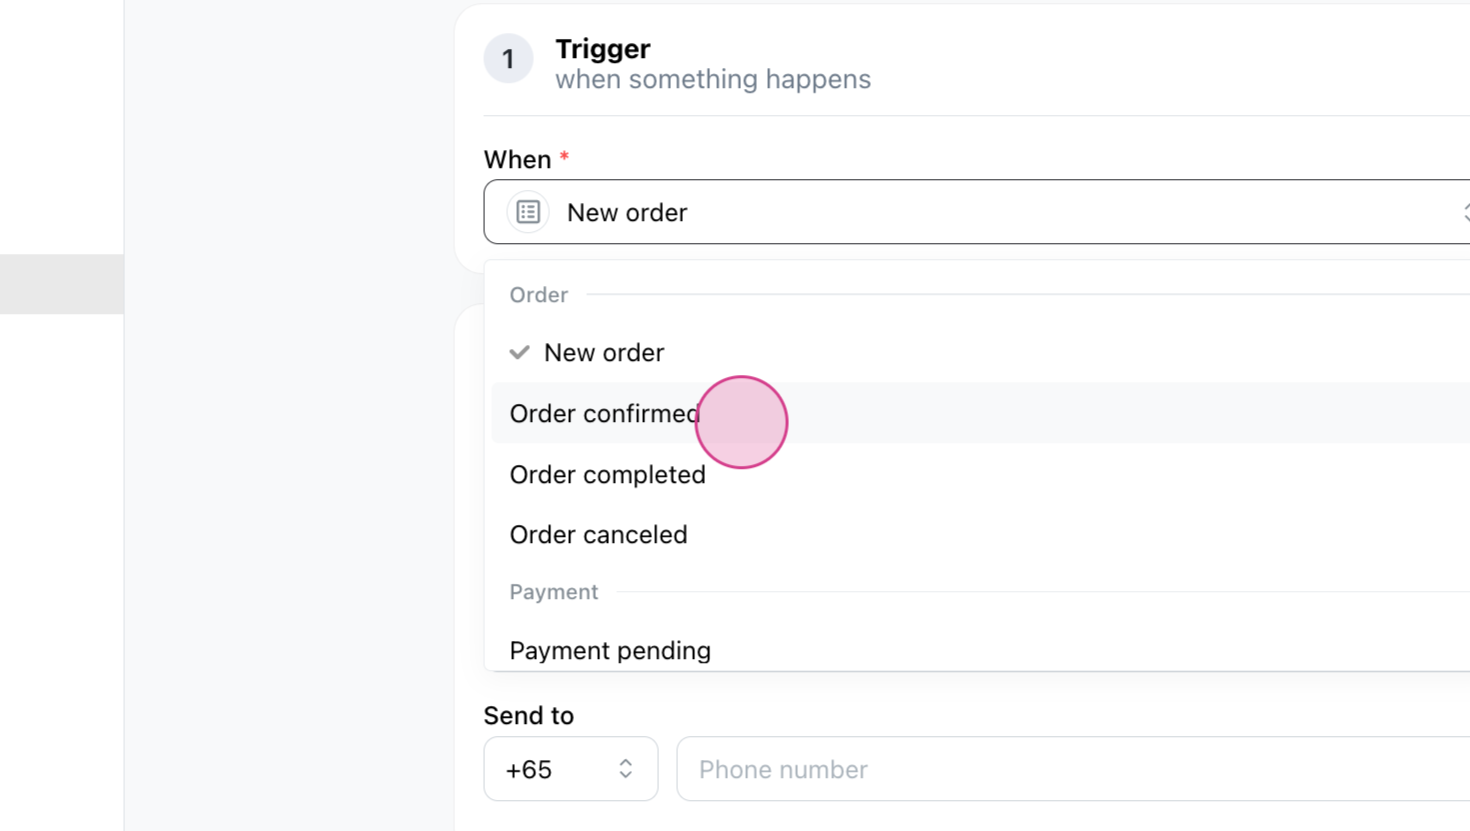
Step 4: Specify the trigger event for the workflow. Select Order Confirmed as the trigger.
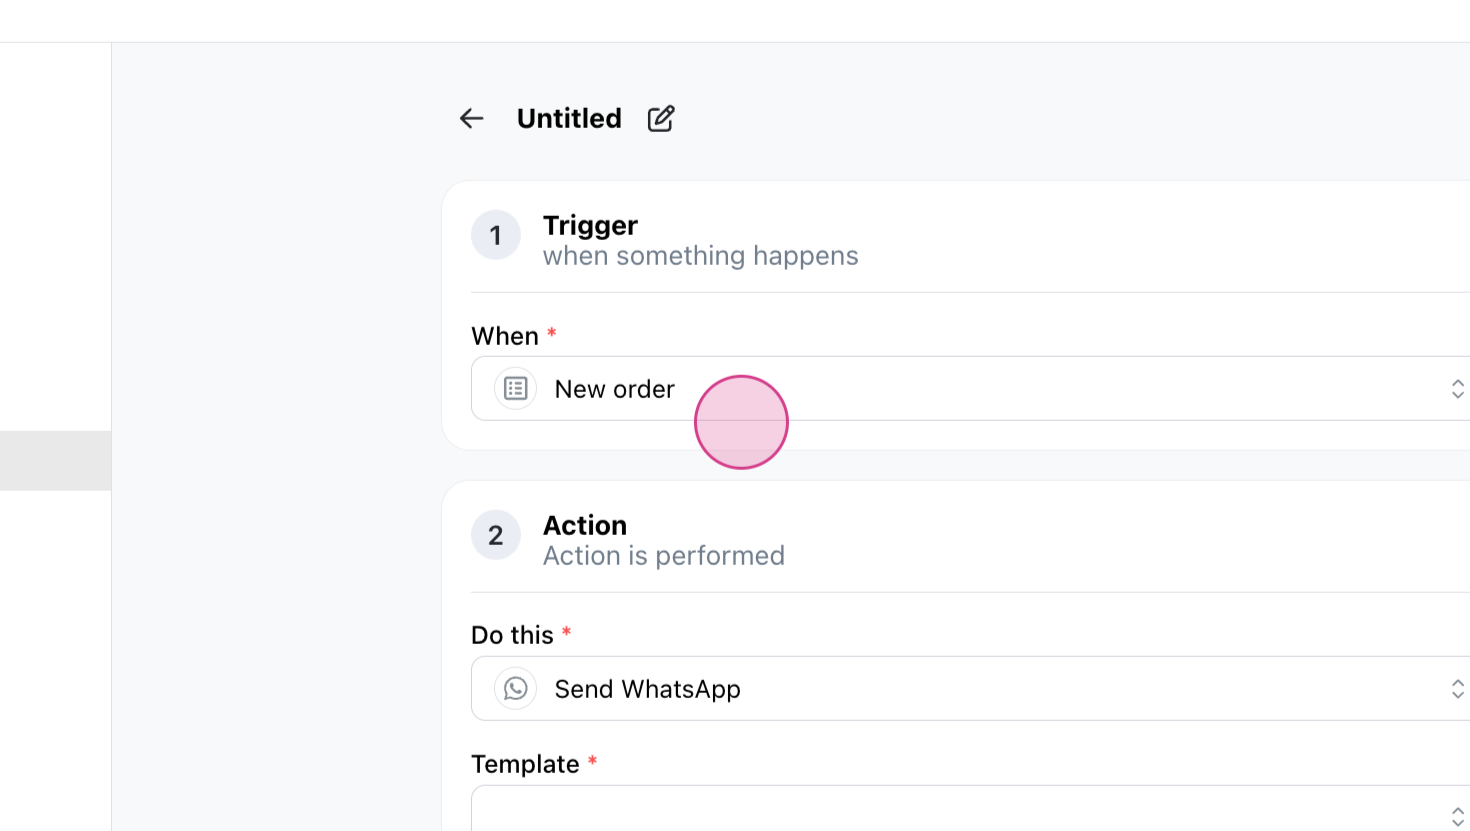
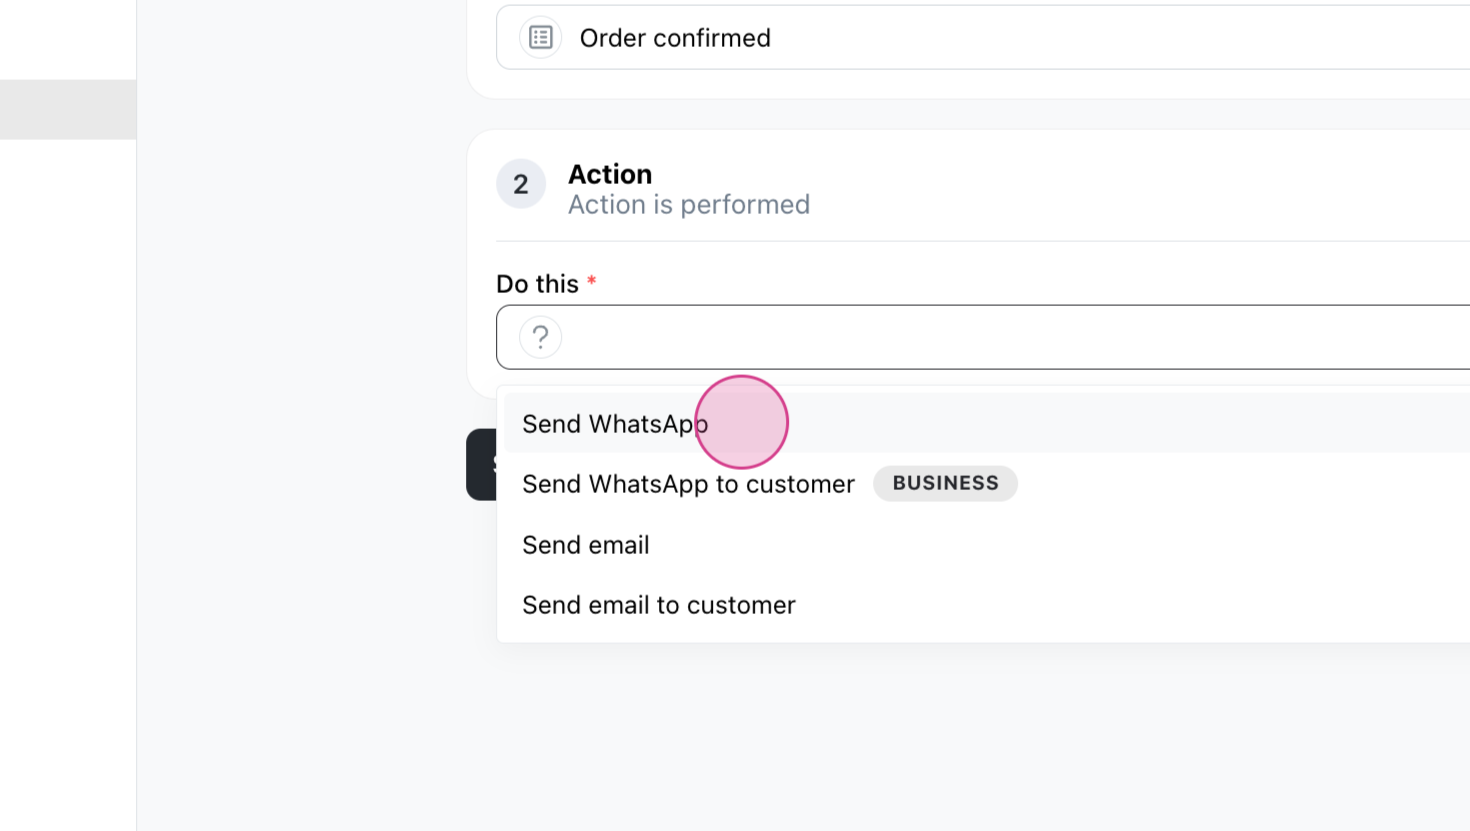
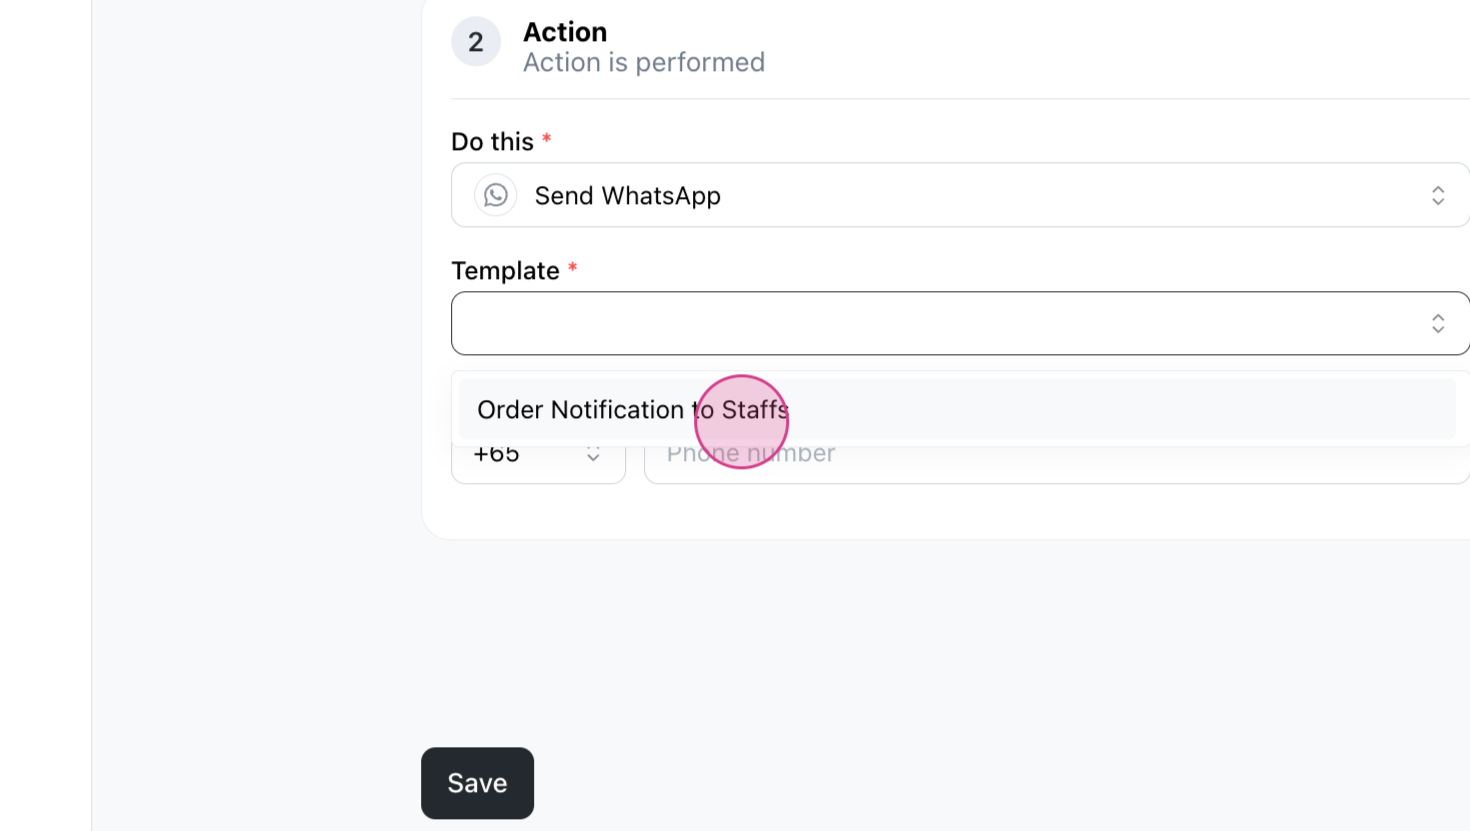
Step 5: Choose the action to be performed when the order is confirmed. Select Send WhatsApp and Template: Order Notification to Staff.
Step 6: Input the staff member's phone number and save the workflow
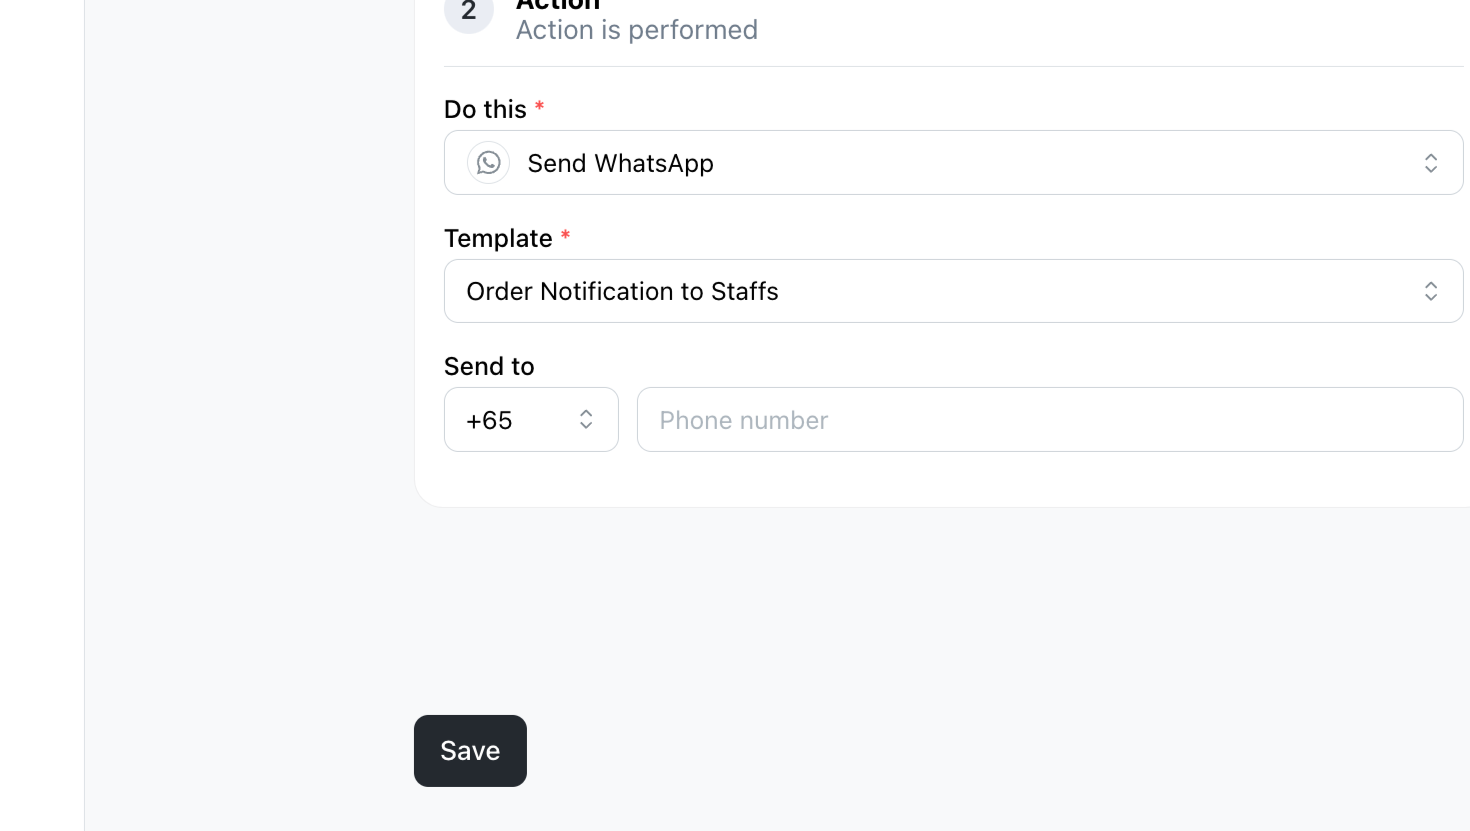
The workflow is now saved and ready for testing. If you encounter issues, ensure that the workflow settings are correctly configured and match the intended triggers and actions.
Step 8: To test the workflow, navigate to Orders and locate an unconfirmed order.
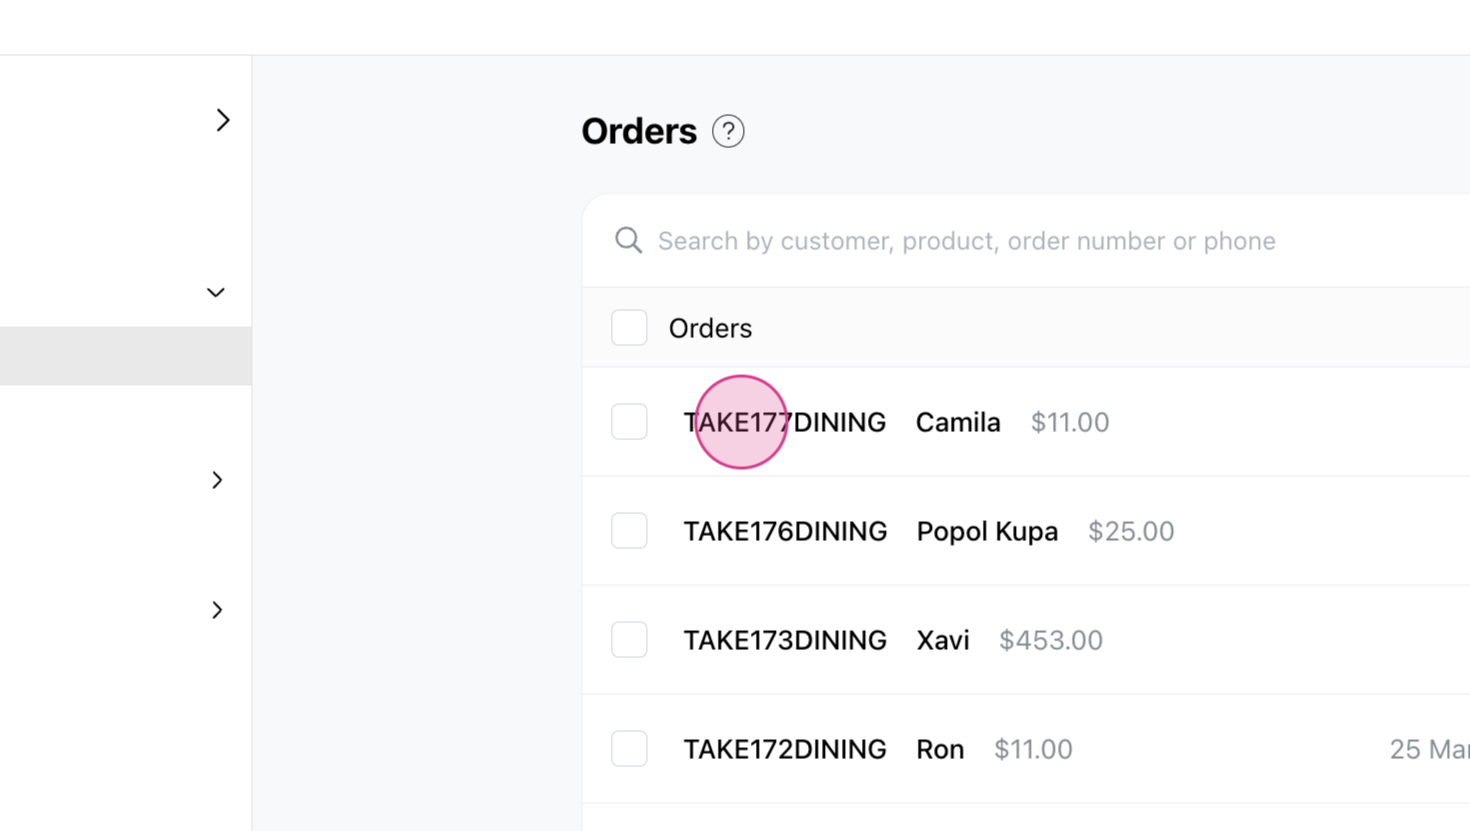
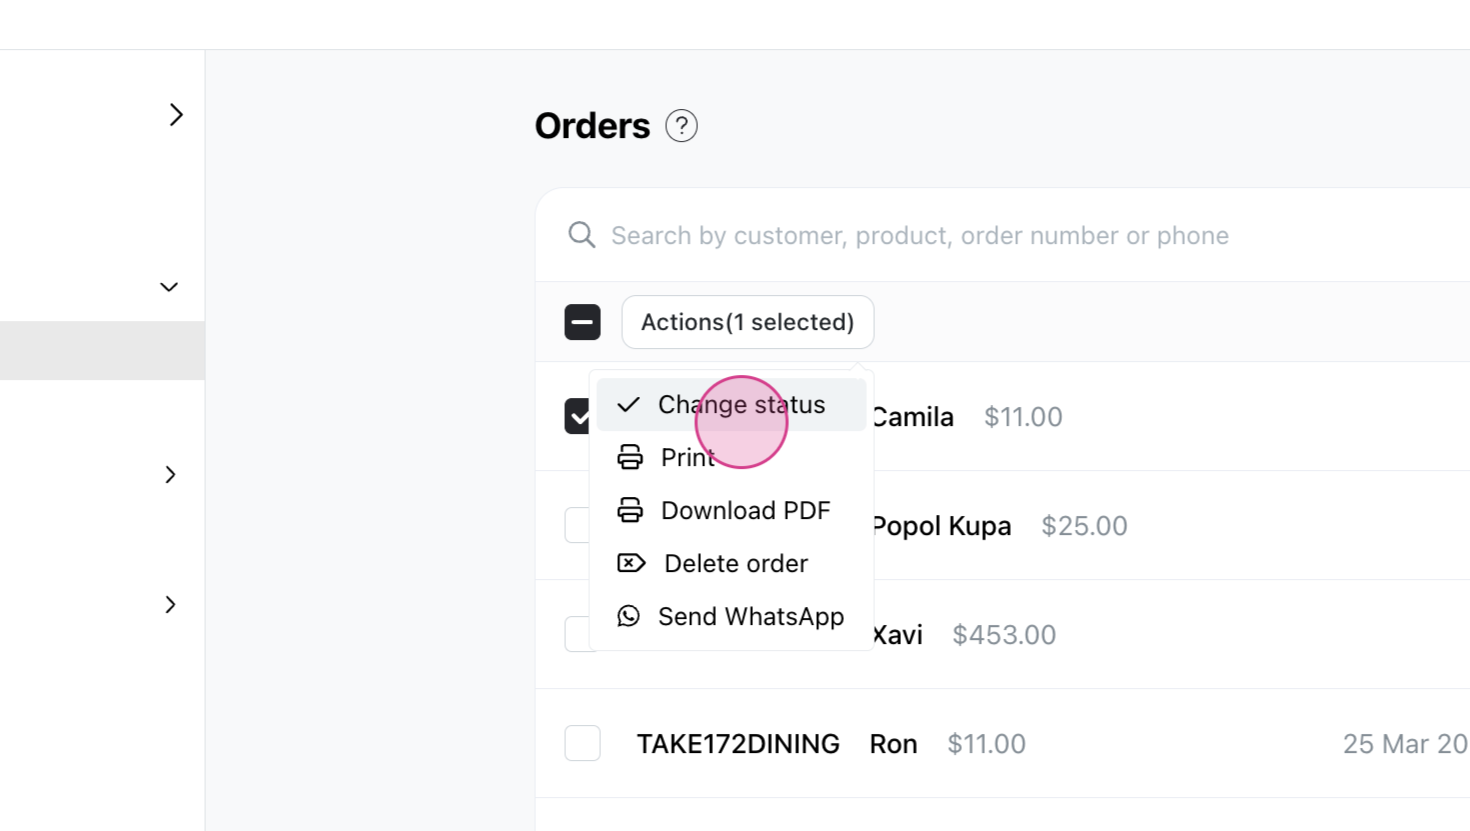
Step 9: Change the order status to Confirmed. The staff member whose phone number you entered should receive a WhatsApp message with the order details.
You can create multiple workflows for different scenarios. For example, you can set up a workflow to send an email to a specific customer when their payment is confirmed. Check example setting below.
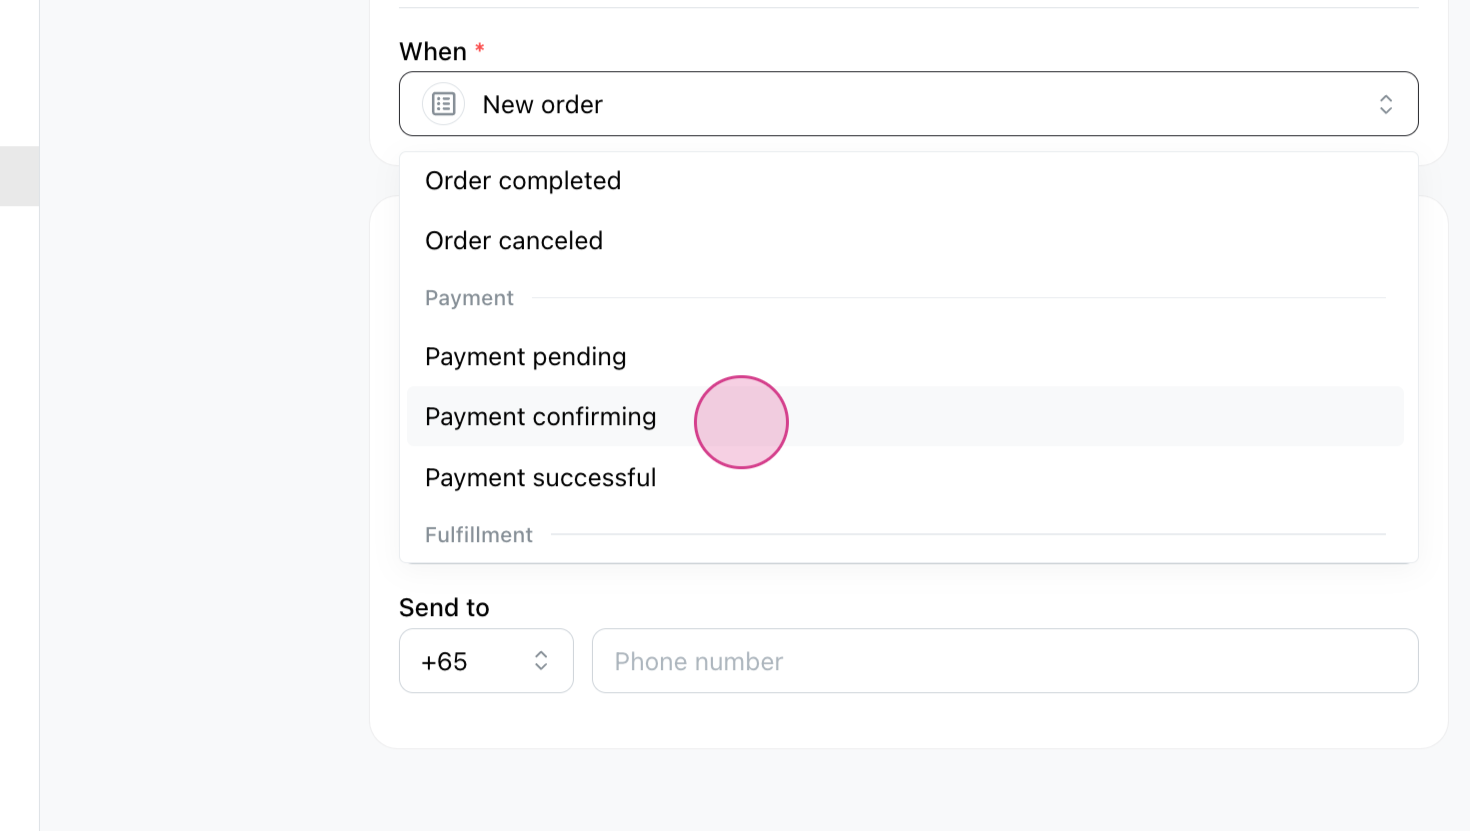
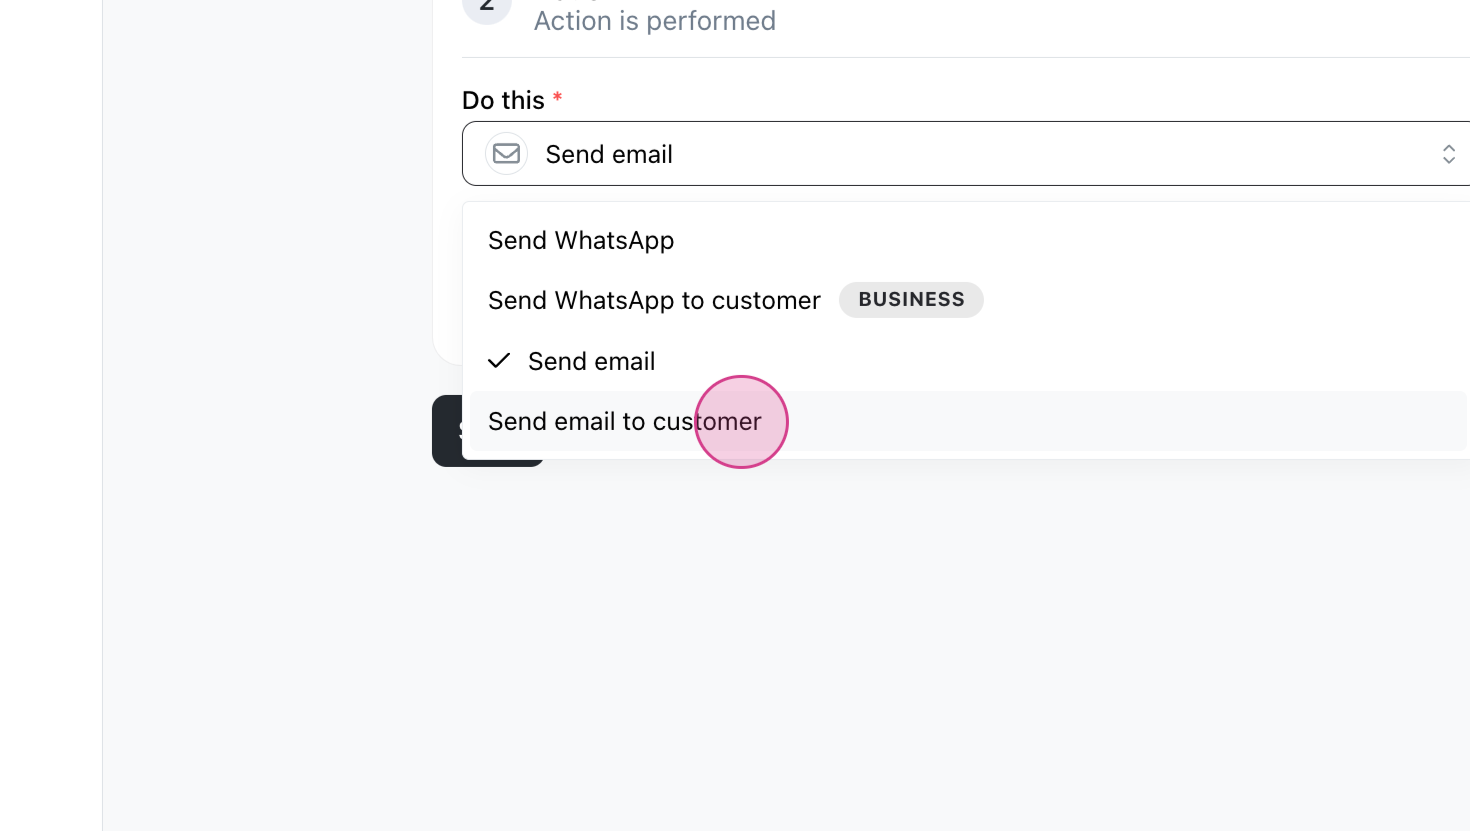
When a payment is confirmed, a confirmation message will automatically be sent to the chosen recipient.
Workflow triggers and events
Understanding workflow triggers and events to automate your notification. In this guide, we will focus on a basic workflow with 4 triggers and 3 corresponding events.
Triggers:
- Order Created: This trigger initiates when a new order is created by customers.
- Order Confirmed: This trigger initiates when the seller changes the order status to Confirmed in the order menu.
- Payment Confirmed: This trigger is initiated when the seller changes the payment status to Paid in the order menu.
- Payment Confirming: This trigger is initiated when the seller changes the payment status to Confirming payment in the order menu.
Events:
- Send WhatsApp: This event sends a notification to the designated WhatsApp number of the store members.
- Send WhatsApp to customer: This event sends a notification to the customer's registered WhatsApp number.
- Send Email: This event sends an email notification to the specified store email address. 3.
- Send Email to customer: This event sends an email notification to the customer's registered email address.
Example Scenario:
- Triggers: Order created
- Events: Send WhatsApp
- Result: When customers place an order, the system will send an "order created" notification to the store's WhatsApp
- Triggers: Order Confirmed
- Events: Send Email to customer
- Result: When the seller changes the order status to Confirmed, the system will send an "order confirmation" notification to the customer's email address
This guide provides a basic framework for implementing a workflow with triggers and events, allowing for efficient automation and communication in various systems.
Troubleshooting Notification Issues
If your customers are not receiving notifications:
- Check Your Subscription Plan:
- Confirm whether your current plan includes automated WhatsApp notifications.
- Verify Workflow Settings:
- Ensure that the workflow for 'New order' is correctly set up with the action to send a WhatsApp message.
- Review Email Settings:
- Make sure email notifications are enabled and configured correctly in your settings.
By following these steps, you can ensure that your customers receive timely updates about their orders.