
How to Add Payment Methods
Step 1: Navigate to Settings and Select Payments
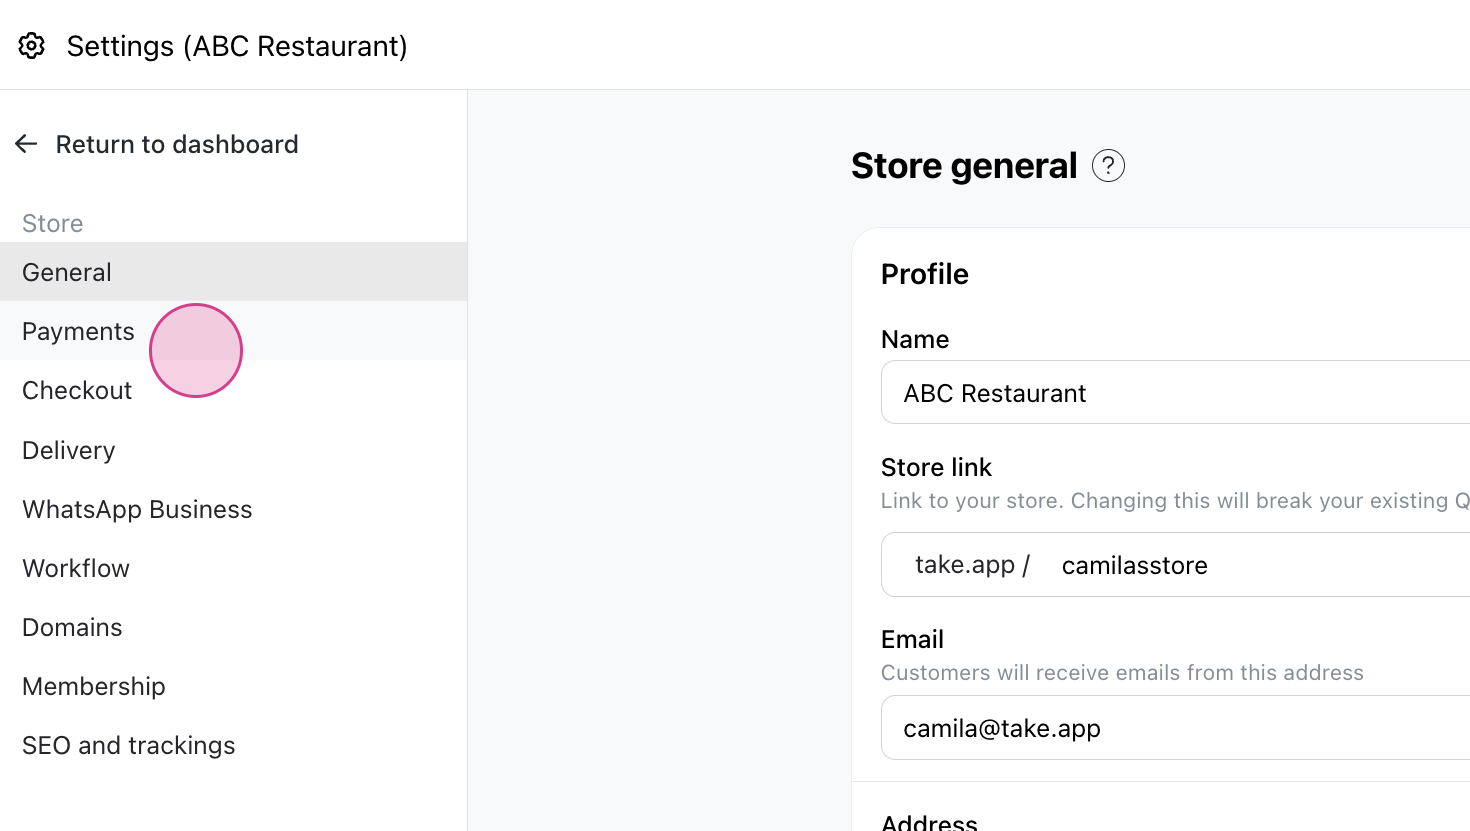
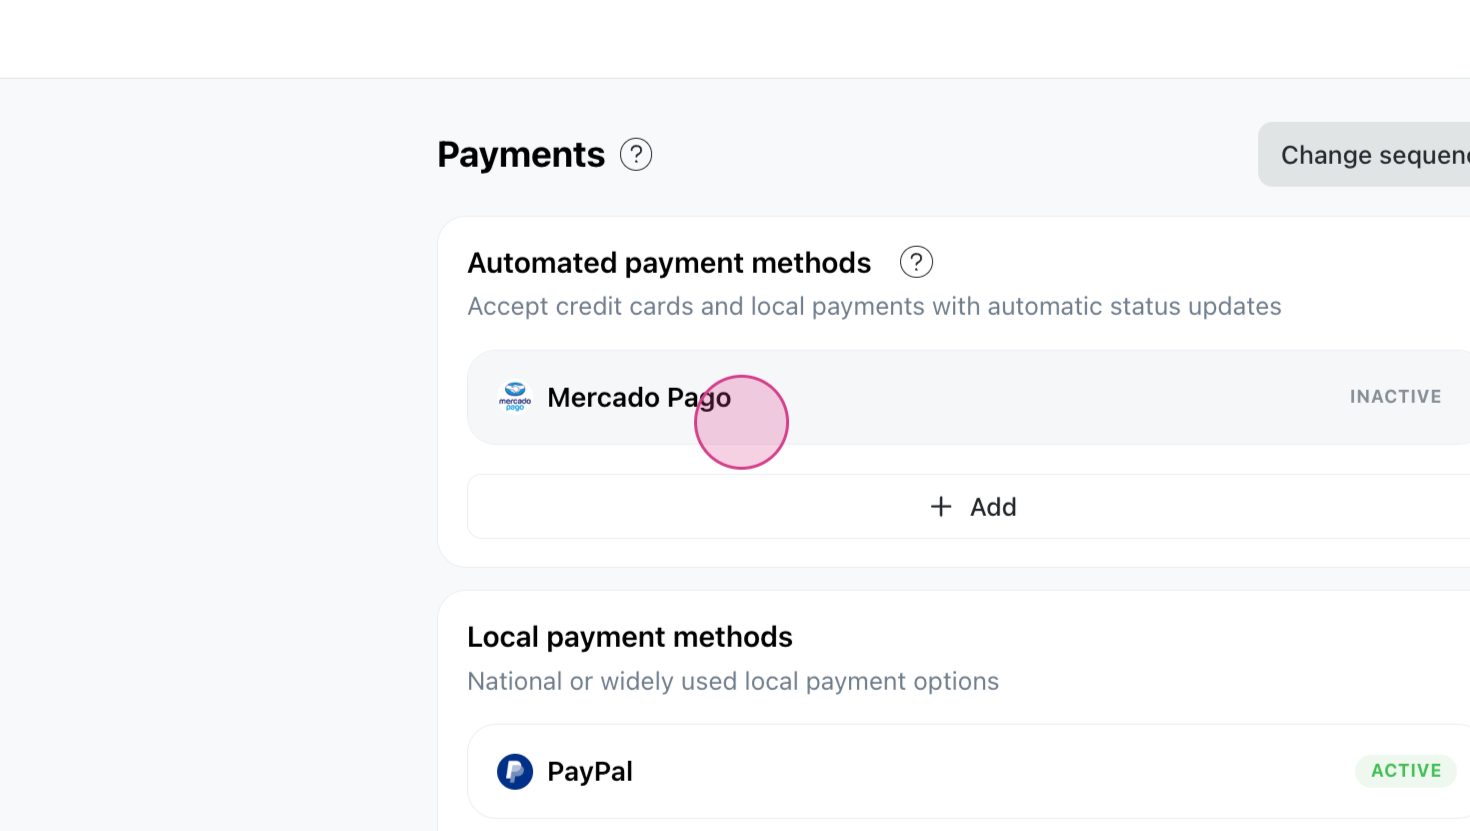
Step 2: You'll see payment methods valid for your store country and currency. Recommended methods for your market appear first, then the rest. Methods with the Automated badge confirm payment for you; manual methods need you to confirm.
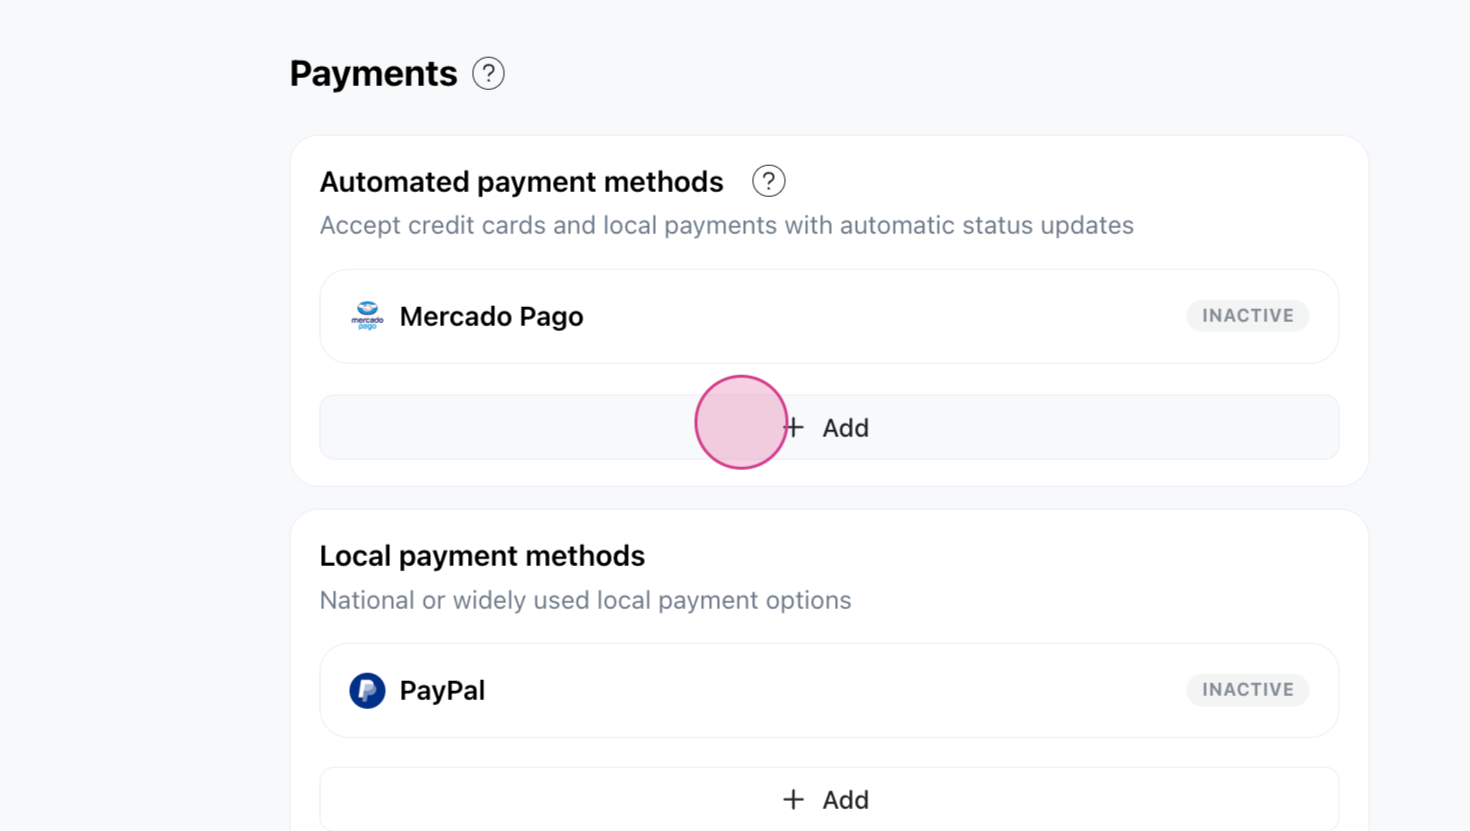
Connected methods sit under Connected; methods you can still add sit under Not connected. There are no Active, Inactive, or Incomplete badges.
Step 3: For instance, let's add Bank Transfer.
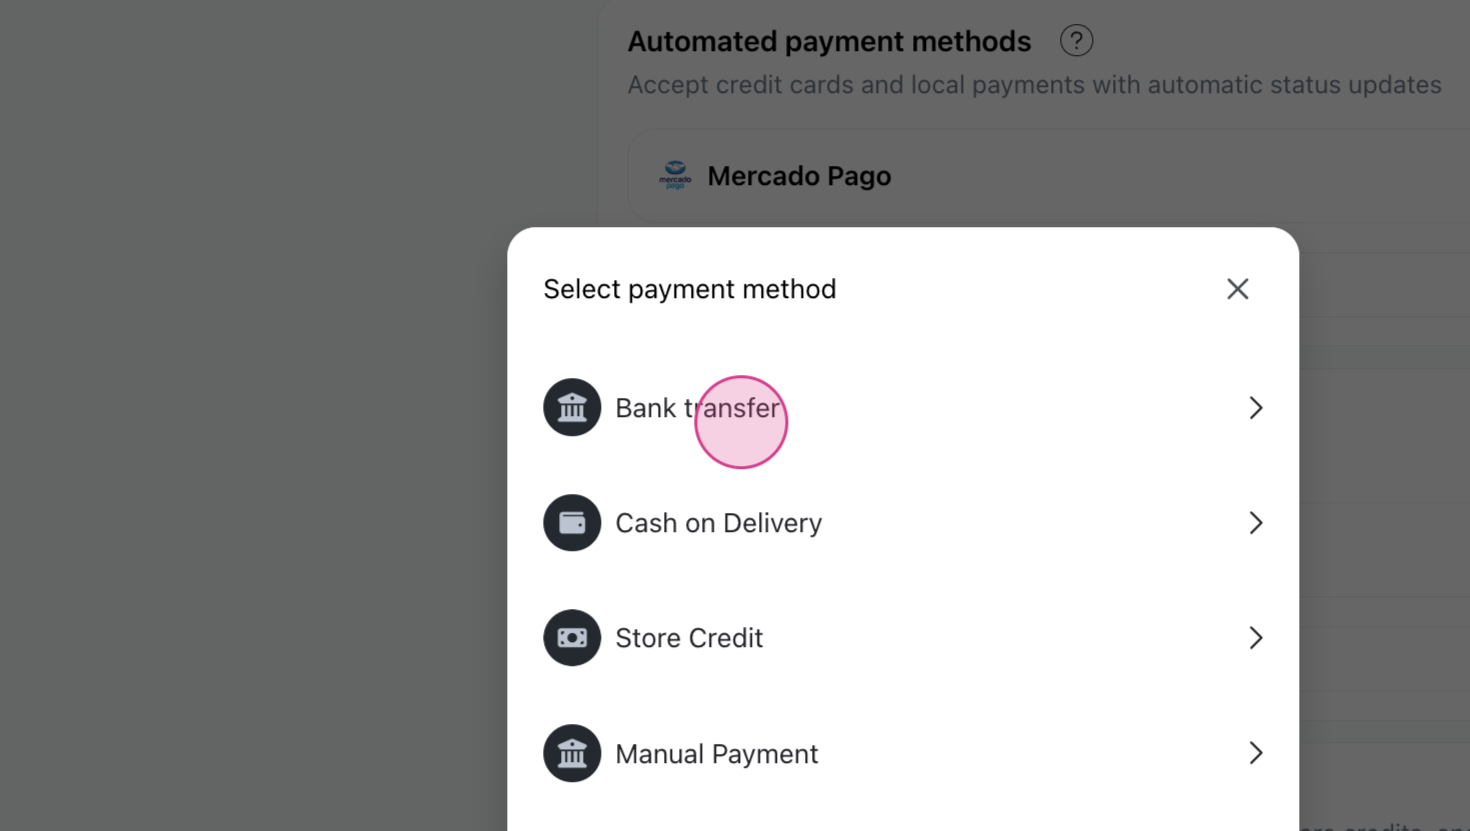
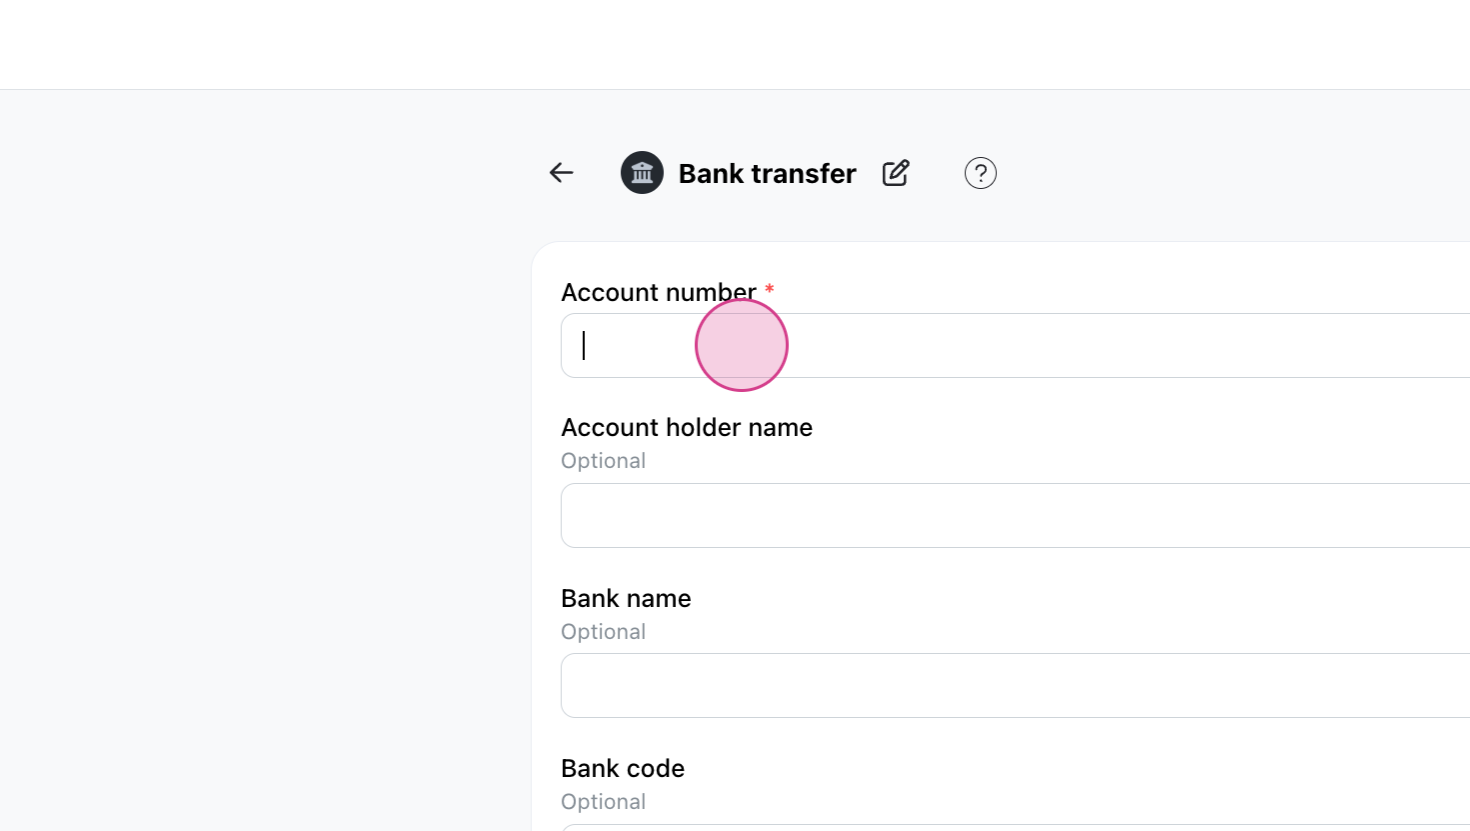
Step 4: Enter your account number and account holder name. Then, click Save.
Step 5: You may also require payment proof. This will prompt customers to upload a screenshot of their bank transfer confirmation or receipt when they make their payment. After putting your settings, click Save.
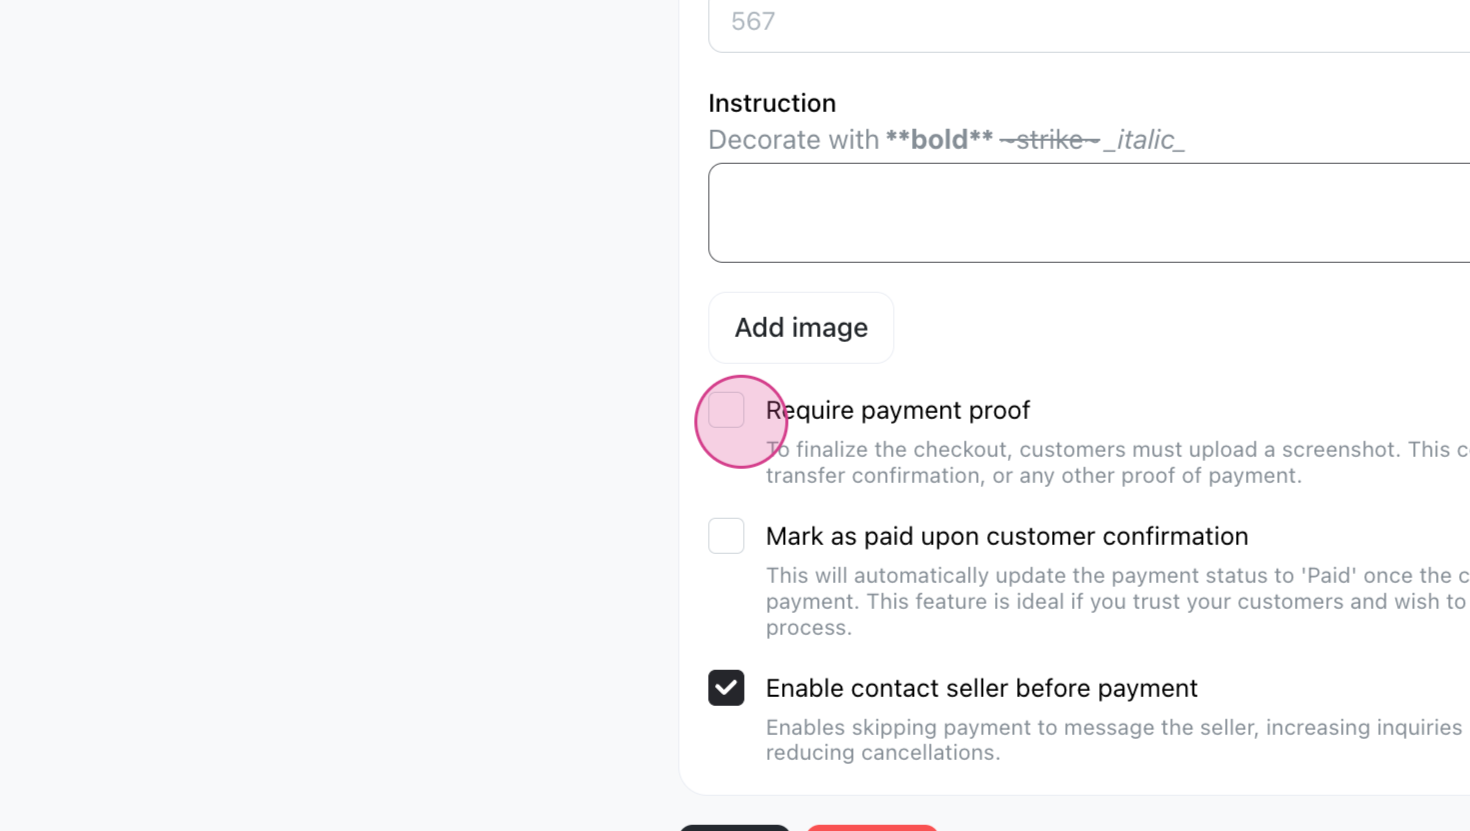
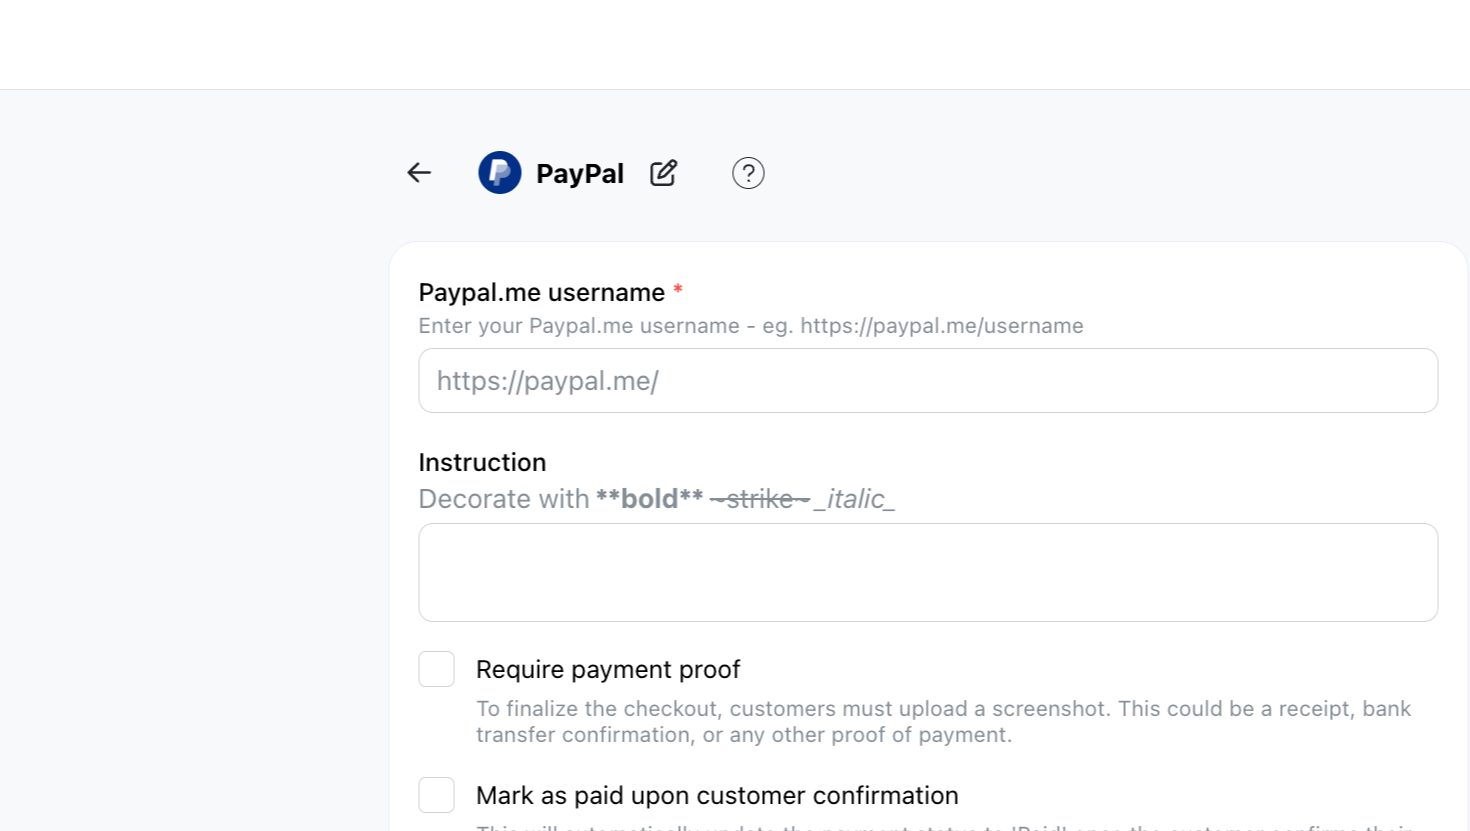
Step 6: Let's add another payment method. For instance, let's add PayPal. Enter your username and click Save.
Step 7: To see how this looks for your customers, you'll notice that PayPal now appears as a payment option.
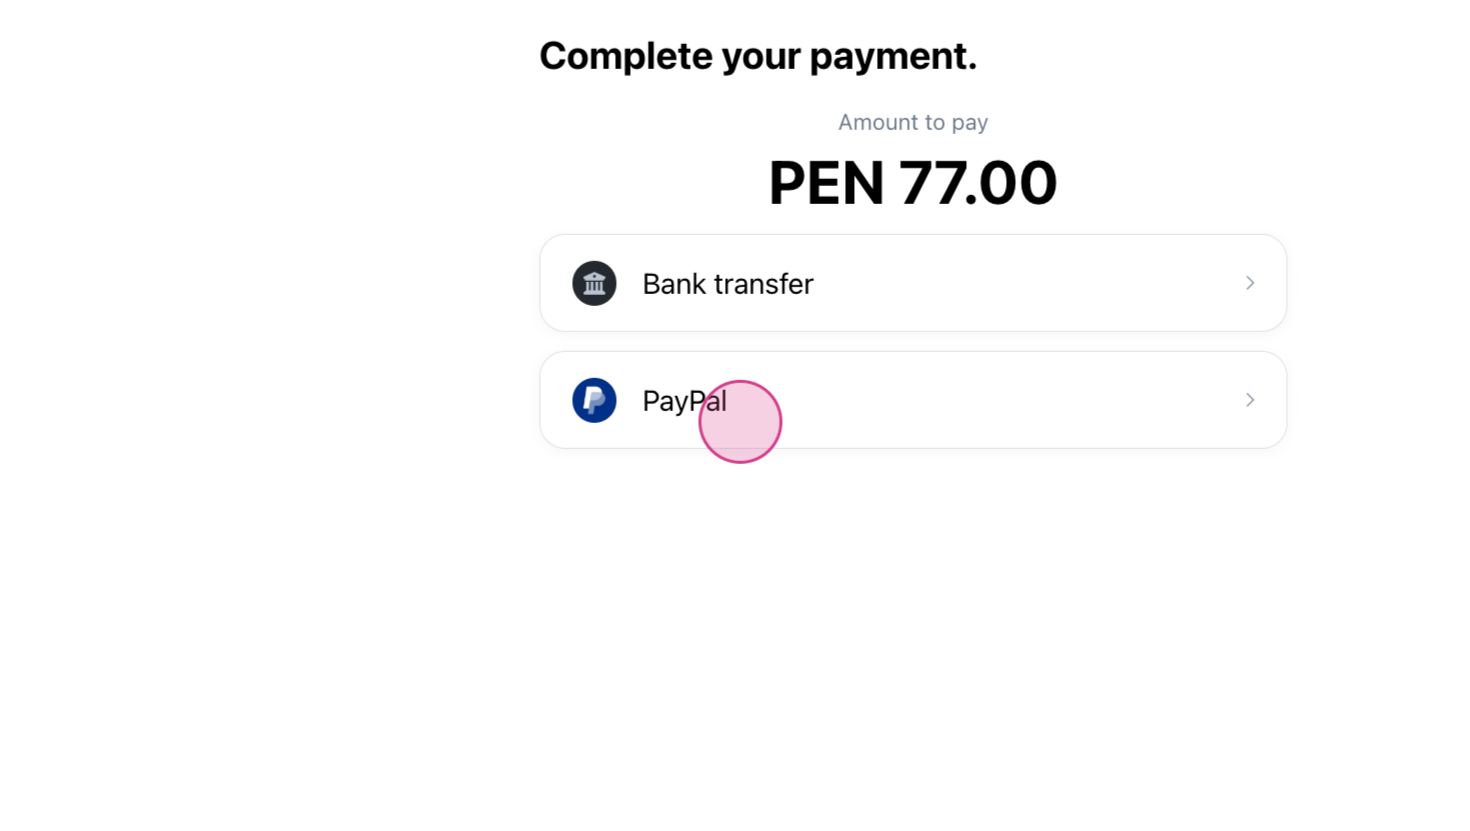
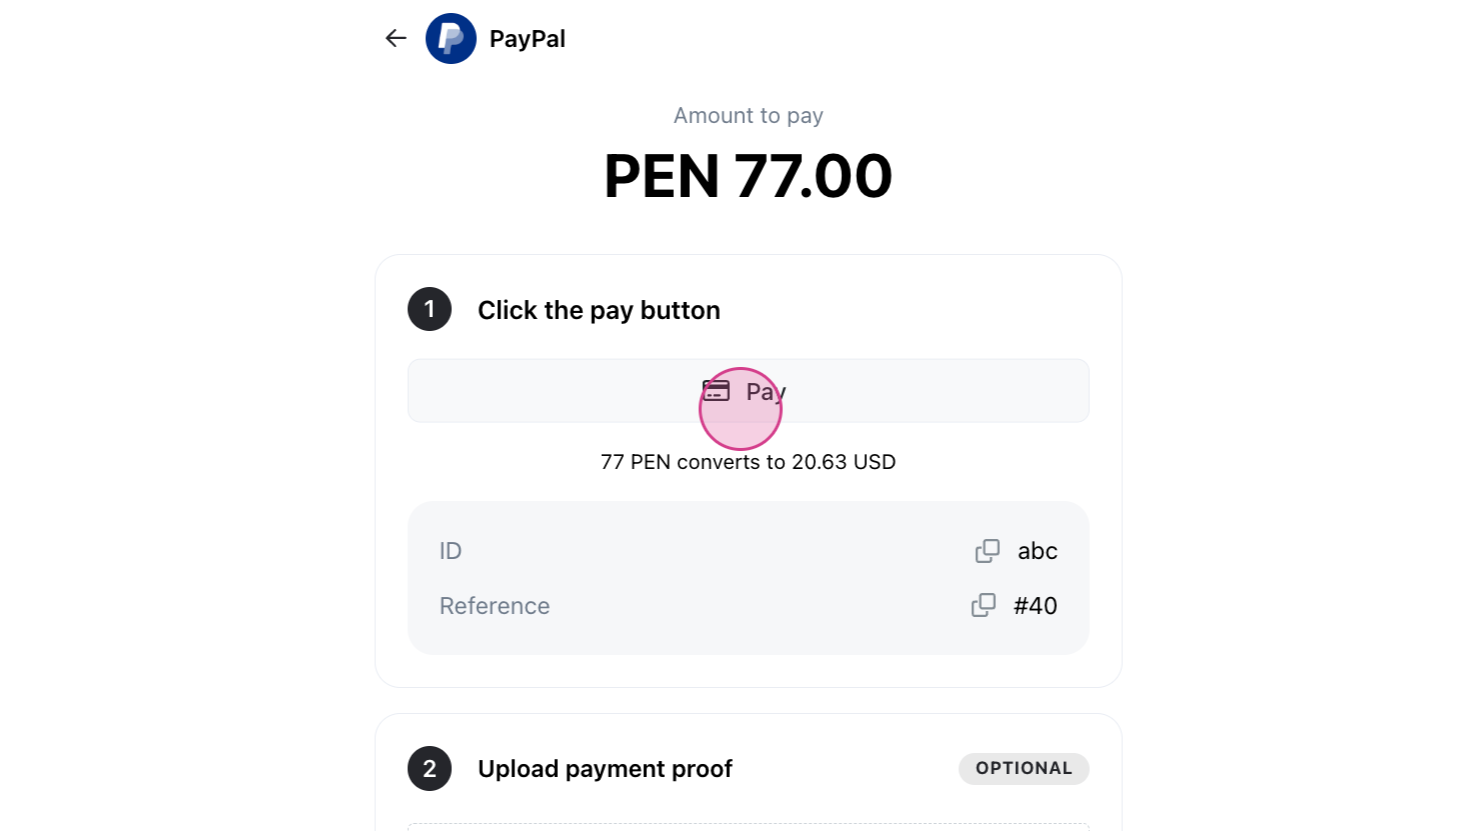
Step 8: When your customers click Pay, they'll be redirected to the PayPal page with the amount they have to pay.
Step 9: You can also add automated payment methods. To add one of these payment methods, you'll need to have an account with the payment gateway first. Each payment gateway has its own onboarding process, so it's recommended that you look for the Payment gateway you want to integrate in our Help Center for more details.
And that's how you add payment methods to your store!
If the payment method you need is not listed, use Chat with us beside the Payments page description to ask Take App to add it.
Choosing your Payment Gateway
You can check our available payment gateways by country, here.
Already decided on an automated payment method? Find the step-by-step guide for your chosen gateway here.
Looking for local payment options? Click here to check out guides for regional methods.